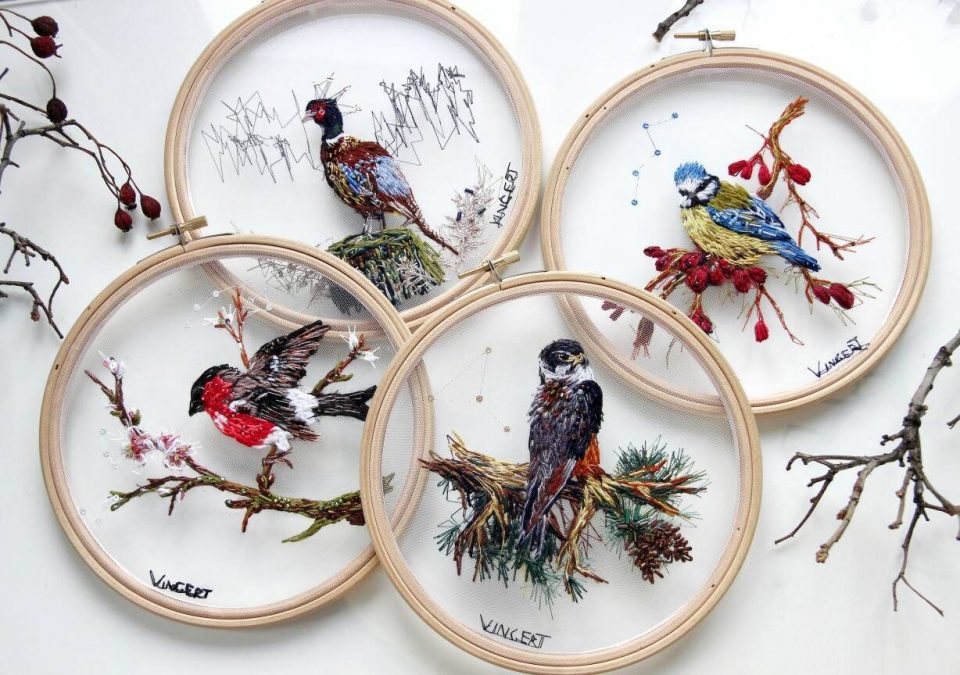
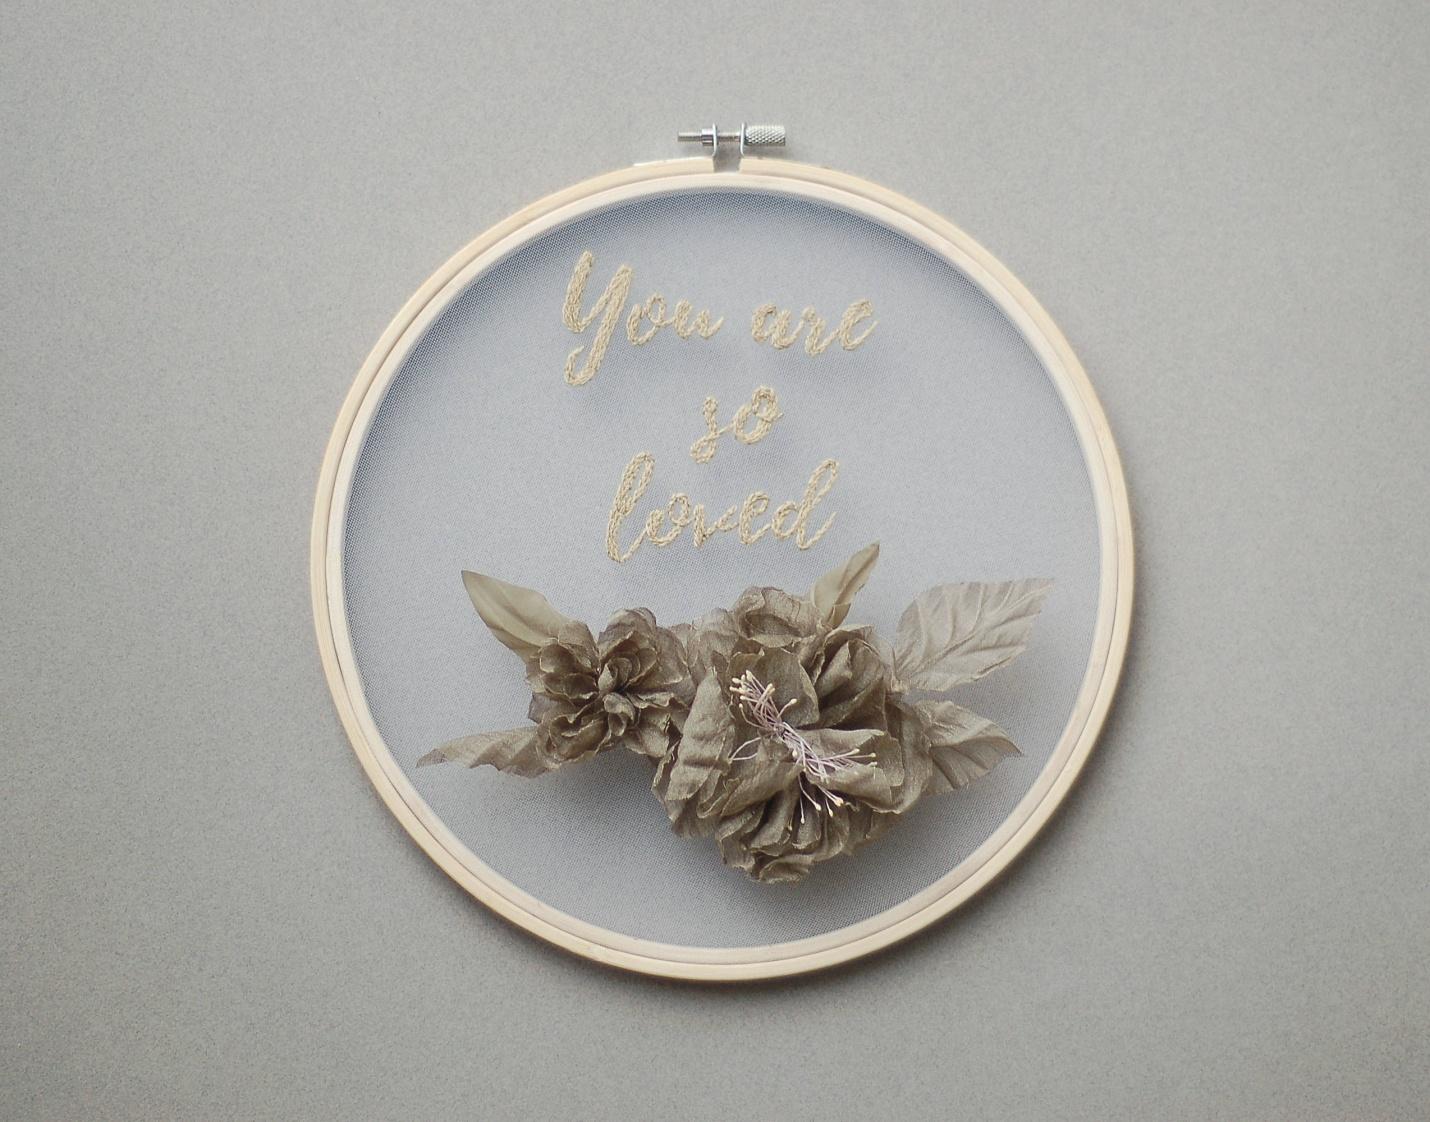
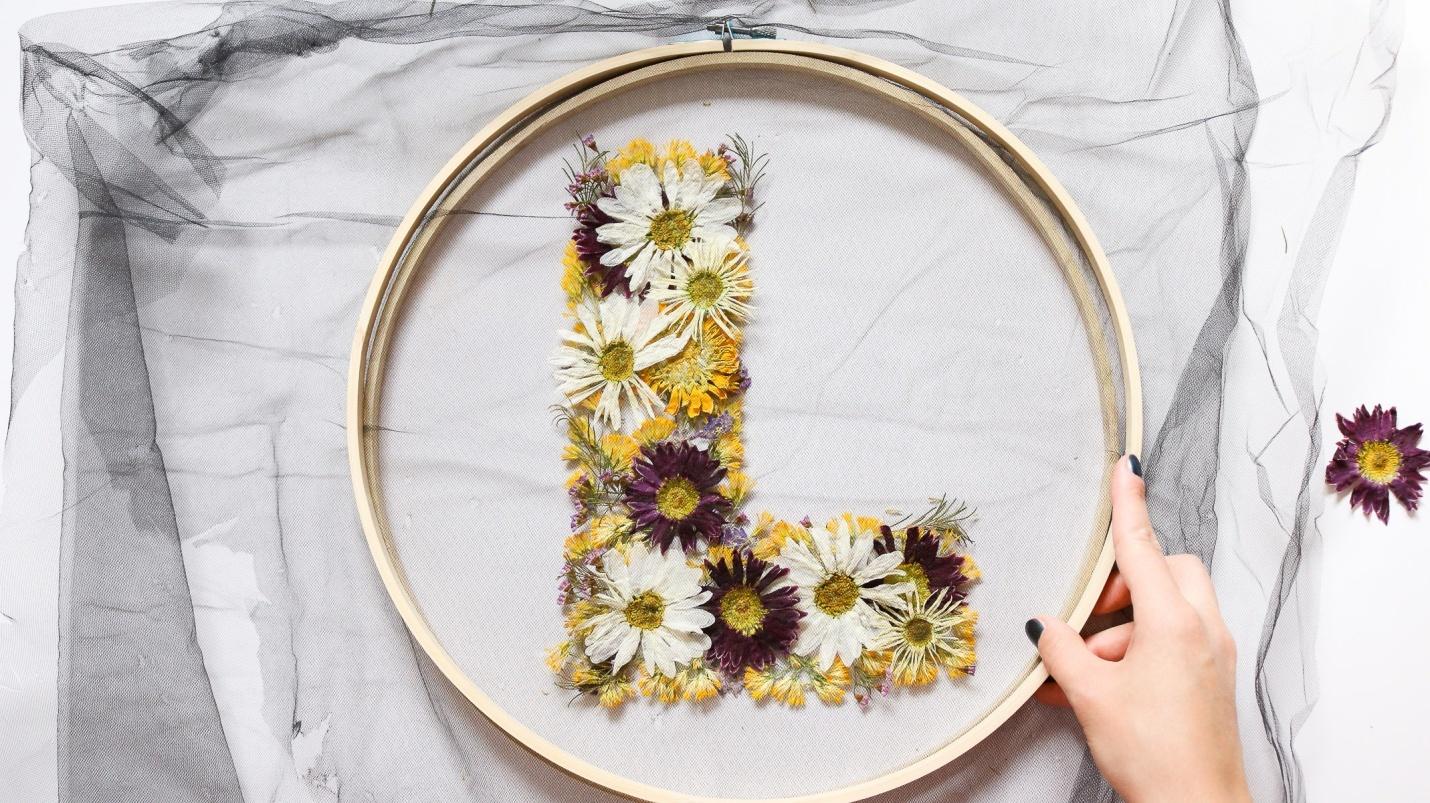
There s nothing better than DIY craft projects that are inexpensive, easy and have a high impact. Tulle is a whimsical and inexpensive material to use, plus quite often sewing is not even necessary, making it quick and great for the craft. Today’s DIY is admittedly, an experiment and one off the beaten path.
Making embroidery hoop craft for several months and started seeing more pieces that incorporated fabric, including tulle, a delicate and mesh material. It is ideal to find a fabric and craft supplies supplier for buying tulle, wholesale chair bows, tablecloths, and many other wedding-related products. Here I am going to shares some steps for making a beautiful embroidery hoop art.
Supplies Needed For Making the Embroidery Hoop Art Using Tulle
- Embroidery hoop
- Faux flowers
- Bulk tulle fabric
- Hot glue gun and glue sticks
- Scissors
- Wire cutters
Steps
Step 1: Cut Flowers
First, cut the glower that you have like to use your piece.
Step 2: Separate Hoops
If you have never used embroidery hoops then you need to know is that there are two hoops – an inner and outer hoop. So for separating them, simply unscrew the hoop. After doing it, the outer hoop will loosen up and allowing the hoops to separate.
Step 3: Cut First Layer of Tulle
For making this DIY project, there are two lays of tulle fabric- on the front and the back. Start by cutting the first layer of tulle and make sure it is larger than the hoop.

Step 4: Glue Tulle to the Inner Hoop
After that glue the tulle to the outside edge of the inner hoop. You also need to make sure you are using the low-temp hot glue gun that is designed especially for fabric ad delicate materials.
Your souls start with one dot of glue then fold the tulle against the side of the hoop. For making your craft more inexpensive you should buy tulle at wholesale prices.
Step 5: Hot Glue the Flowers
Glue the flowers onto tulle, you need a few dots per flower. And due to the fragility of the tulle, be very strategic about where you glue the flowers.
Step 6: Cut Second Layers of Tulle & Glue to The Hoop
You need to cut another layer of tulle and place it over top of the flowers in the side this is still exposed. And as with the first layer, glue the second layer of tulle along the sides of the hoop.
Step 7: Re-attach The Outer Hoop
At end, place the outer hoop around the inner hoop and tighten the screw at the top.
By following the above-given steps you can make a beautiful embroidery hoop art using tulle at the hoop. You can find a reliable fabric supplier to buy the tablecloths, chair covers, ribbons, and glitter tulle at wholesale prices. This DIY craft is so much fun to design and create.