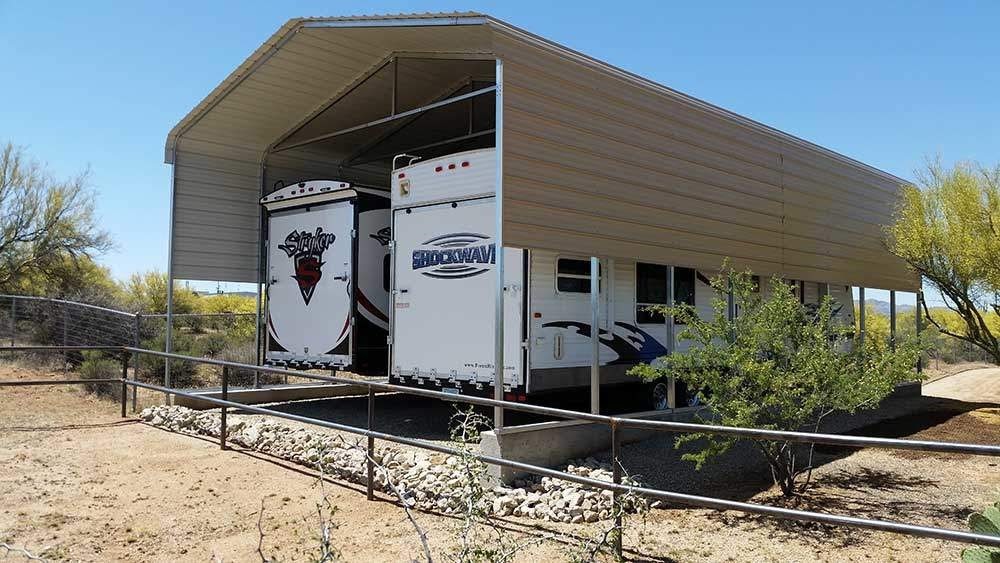
For outdoor vehicle storage, a metal RV carport is the most durable option. Metal RV carports require less maintenance than wooden carports, but they do need to be painted on a regular basis to keep their original appearance due to rust and corrosion. RV Carports for RVs protect your vehicle from inclement weather. Check out our selection of metal RV covers for your cars and RVs that are high-quality, durable, and affordable. Here are six pointers to keep in mind when painting your metal RV carport:
Sweat the Small Stuff of Painting Your Carport
Painting a carport is not a project you should take on without thinking. Instead, take your time and pay attention to the finer points of the project.
A primer is required when painting metal carports properly. If you’re not careful, you’ll end up with primer and paint that are incompatible. Even properly preparing the surface to be painted has an impact on the end result.
People frequently rush through RV carport painting, applying multiple coats of paint before the first one dries. Others make the mistake of painting vertically, in circular motions, or without any overarching strategy, resulting in painfully visible paint brush strokes and ugly dribbling.
Despite the fact that each of these nuances is a subtlety, it is the small stuff that determines whether your carport painting project is a success. The moral of the story is to take your time, pay close attention to the details, and pace yourself to avoid making mistakes when painting your RV carport.
Make certain the Primer and Paint work.
People frequently dive right into the task at hand in order to complete it as quickly as possible. You may notice that the paint has been removed after a few days. This can happen as a result of the primer and paint not being compatible. Always read the entire tag of the products you’re using. Due to chemicals in the primer, some paints may not adhere effectively over time.
Prepare the Surface Properly
The most important task is to prepare the surface of your metal carport. Approximately 80% of all paint failures can be traced back to metal surfaces that have not been properly cleaned or cared for. To begin, clean your metal carport’s current surface to remove contamination such as oil, grease, and loose paint. All of the ‘contaminants’ mentioned above interfere with the paint’s adhesion to the surface. To get rid of the dust and grime, use sandpaper or a wire brush.
Consider the Condition of the Surface
If the RV carport is made of raw metal, you should use a scraper to scrape away the old coat. Some people may prefer to use a sandblaster. If rust appears after scraping or blasting, a light sanding and the application of a rust-inhibiting red oxide primer are required.
If you have an idea of how you want the finish to look, choosing the top-coat paint will be much easier. Oil-based enamels have a lustrous appearance. Acrylic or water-based paints are preferred by those who want a lovely sheen.
You’ll probably be happy with acrylic paint, but it will require a couple of coats of primer because the paint does not create a sealing barrier on its own. Acrylic can be painted over oil, but when the two chemicals come into contact, problems can occur. If you’re unsure, paint a small section to see how the paint reacts and how it looks before going ahead and painting the entire surface.
If the carport has been galvanized to keep it from rusting, the job will be a little more difficult because the old paint must be removed to avoid an uneven appearance. After sandblasting the old paint off, you’ll have new galvanizing that should rust before being painted. Give it a month’s notice.
Above all, double-check to make sure the primer and paint you select are compatible. Read the fine print to ensure that the paint will adhere properly to the primer’s chemicals, and then proceed with the rest of the project with confidence.
Time Your Painting Properly
The paint will be able to properly bond with the surface once the carport surface has been sufficiently cleaned to remove contamination ranging from loose paint chips to grease, oil, and other gunk.
If there is any remaining contamination, remove it with a wire brush or sandpaper. Prior to applying primer or paint, roughening up the surface with sandpaper improves the adhesive power between the primer and metal carports. Even small dirt particles can cause the primer and paint bonding process to be disrupted, so pay close attention to the surface.
Be patient once you’ve determined that the RV carport is ready to be painted. Don’t go from one coat to the next right away. It is preferable to wait at least an hour before applying a second coat of paint. Otherwise, the texture of the carport will be uneven. Failure to wait may cause the brush to become sticky as well.
Attempt to Paint Horizontally as Typically as Possible.
Metal has the potential to be a very slick surface. It’s very easy for paint to dribble downwards. This dribbling would be significantly reduced if your brush strokes were parallel to the area of the ground. This tip is especially important for the final couple of layers of paint. It’s a simple concept, but the final visual result is quite different. Remember not to use so much paint that the brush can’t handle it. Extreme dribbling will result from splattering large amounts of paint.
About Author:
Kylo Walter
Kylo composed of points like Home Improvement, Kitchen stylistic layout, Garden, or travel-related themes furthermore; he has had an enthusiasm for the metal structure industry for over ten years. Kylo has become an accomplished structure expert in this industry. He will probably assist individuals with his huge information to help them with his best recommendations about various Metal Barn Buildings, Metal Garages, for example, Metal Carports, stables, utility structures, RV Carports, and business structures.