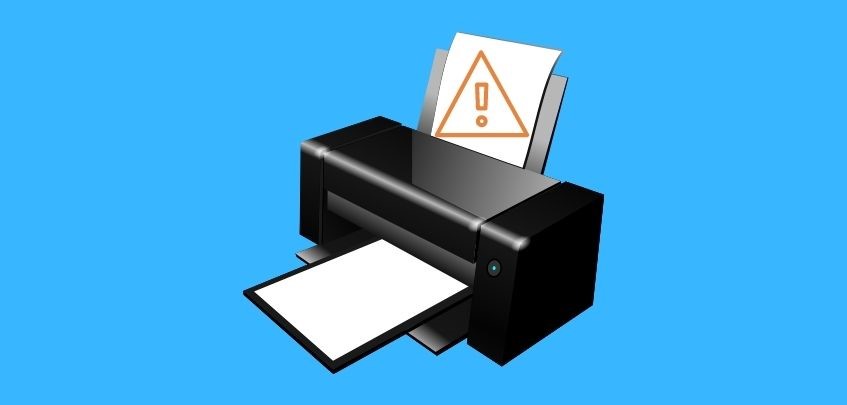
“Epson printer won’t print” is one of the common issues that occur due to many different reasons that are included –
- No presence or out-of-date driver
- Problems related to wired and wireless connections of printer
- configurations problems in Windows and many more.
Common things like having no ink or having paper jam can cause irritation with your Epson printer as well. First of all, you must check all the wires are properly connected.
Given below are some solutions you should go through to resolve your Epson printer issues –
- Check Printer Status
- Cancel Print Jobs for your Epson printer
- Set Epson Printer to Default
- Update Epson Printer Drive
Check printer status –
- Make sure that your Epson printer has enough paper in the tray. If there is paper, then make sure that they are not stuck or jammed in the paper feed. If there is, please check with your manufacturer and know the best way to remove the paper as it can ruin the internal motor or paper feeder as well.
- Check if ink or toner is not empty? Consult with your Epson printer’s manual to know how to check the ink levels or toner levels in your printer. New Epson printers have a display of the ink levels or notifications if there is an ink issue on the front screen of the Epson printer.
If you are looking forward to having your Epson printer serviced, you need to contact directly to customer care service.
Cancel previous Epson Printer Jobs
Go to your Windows Control Panel and select “Devices and Printers.” You can go to your control panel by typing “Control Panel” in the search bar of Windows 10. In the case of older versions of windows, press the Window key and “R” key on your keyboard simultaneously to open a Run dialog. In this dialog, write “control” and click on Enter. Epson printer is not printing
- This will open Control Panel in a number of Windows operating systems.
- Find your Epson Printer in the list of printing devices; make sure it is the one you’re having issues with.
- A new page will open, click on the “Printer” menu item and select “Open as Administrator.”
- Open the “Printer” menu item at the top again and select “Cancel All Documents.” At this time, a confirmation dialog window should come, and you will need to confirm that you want to clear all documents in the queue by clicking “Yes.”
- Now you can try to run a print again on that Epson printer to see it is working properly. If it doesn’t work, please try the next solution.
Set Your Epson Printer As Default Printer
It can also be an issue that all your printing requests are not going to your printer but into a different location. You must check that and make sure that your Epson is Default Printer. You can do it by following steps –
- Go to your Windows Control Panel and choose “Devices and Printers,” you can do it as done in the previous method.
- Locate your Epson Printer from the list of printing devices, ensure that it is the one you are having problems with. Right-click on that printer and set it as “Set as default printer” from the drop-down menu. If there is a confirmation prompt, please it is necessary to click “Yes.”
- You will see a little green checkmark on the icon of your Epson printer. It means that the default printer for Windows.
- Try the printer to see if it is working.
Update Epson Printer Driver
If the above methods do not work, it is possible to do it automatically with Driver Support. It can scan and detect problems and solve them automatically.