Water in the basement? Not fun. Luckily, waterproofing estimating work doesn’t have to be confusing. Here’s a step-by-step way to figure out what you’ll need and what it might cost, without the stress.
1. Walk Around and Take Notes
Before you think about prices, check every area that could get wet. Basements, crawl spaces, foundations—but also corners, door frames, and spots that have leaked before.
Measure walls and floors, and jot everything down. Guessing now only leads to surprises later.
2. Decide How You’ll Handle Waterproofing
Not all waterproofing is the same. You’ll want to match the method to your problem:
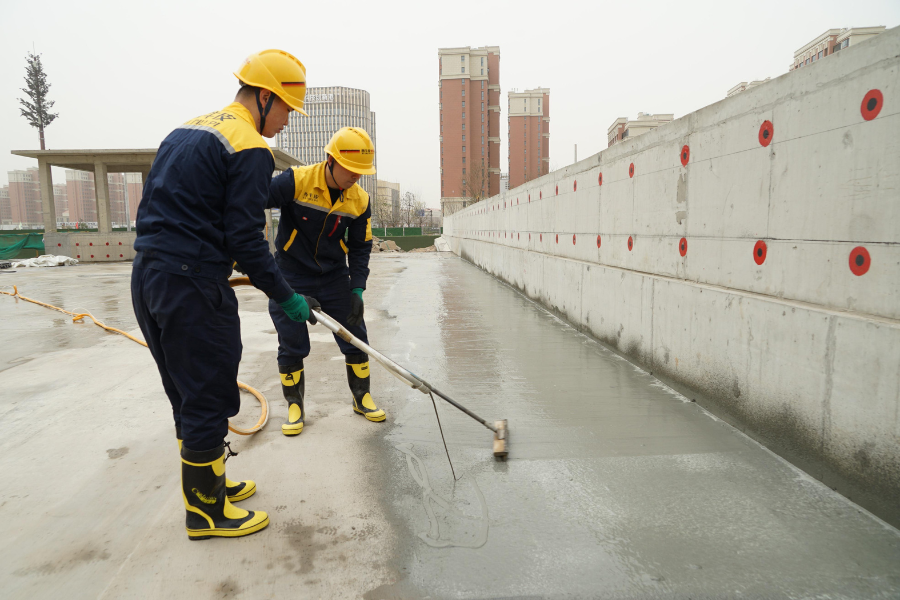
- Exterior waterproofing—This is the full-on approach: dig around the foundation, apply membranes or coatings, and maybe add a French drain. Works great but costs more.
- For indoor fixes, you’re basically handling water once it gets inside. That might mean putting on sealants, rolling a waterproof coating, or adding a small sump pump. It’s usually quicker and easier on the wallet, but remember—it doesn’t stop water from reaching your walls in the first place.
- Crawl space encapsulation—A plastic barrier prevents ground moisture from sneaking up. Ideal for older homes or damp basements.
- Crack repair—Small epoxy or foam injections fix tiny cracks without doing a full job.
Pick the approach that fits your home and problem.
3. Make List of Materials
- Waterproof membranes for walls
- Sealants or coatings for inside
- French drains or sump pumps if needed
- Vapor barriers for crawl spaces
- Tools like brushes, rollers, gloves, and levels
Having a clear list lets you estimate material costs more accurately.
4. Factor in Labor
Even if you DIY some tasks, some work requires a professional:
- How long each task takes—digging and drainage take longer than rolling sealant.
- Skill required—Some parts of the job do need a bit of skill. If it’s done poorly, water can sneak in even more easily, so make sure anyone helping knows what they’re doing.
- Crew size—If hiring pros, figure labor per day or per project.
Interior work is faster and cheaper, but don’t skip a skilled pro.
5. Calculate Your Costs
Now put the numbers together:
- Multiply the area (square feet) by the cost of materials.
- Add labor estimates.
- Include a small buffer (10–15%) for surprises. Water has a way of showing up unexpectedly.
6. Double-Check Everything
Before you start, give your plan one last look. Check that you measured all walls, floors, and corners. Make sure your materials will actually work for your home and climate. Don’t forget to include labor and a little extra for surprises. Doing this now can save a lot of headaches later.
Conclusion
Waterproofing is really about protecting your home, not just fixing leaks. Take it step by step—look around carefully, plan what you’ll do, list your materials, figure out the costs, and double-check everything. Deal with small cracks and damp spots early, and you’ll save money and stress later. A bit of prep now keeps your home dry, safe, and comfy for years.