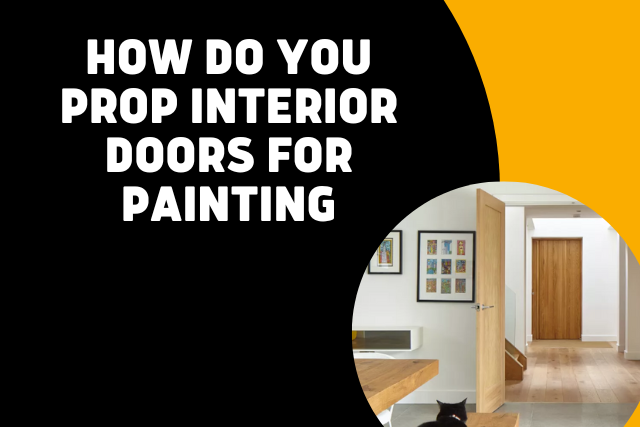
Interior painting projects are sometimes easier said than done, especially if you’re dealing with an older home with more delicate doors and hardware that can be easily damaged during painting. How do you prop interior doors for painting? Following these simple steps, you can ensure that your door remains pristine while you paint the rest of your home!
Step 1: Prop with wooden blocks
Slip a 1-by-2 or 2-by-2 into the door jamb to prop up an interior door. If your door doesn’t latch, use painters or duct tape to secure it. The wood will absorb paint splatters and protect your flooring during your project. Don’t set anything on top of your door—it could damage it when you put it back up. It’s probably best to prop only one side of a swinging door; two blocks would likely be too heavy for most hinges, and weight distribution may cause problems when pushing open a stuck door. Also, if you’re taping shut a sliding glass patio door, make sure not to block any moving parts, like your screen and track system, which can rust with repeated exposure to moisture.
Step 2: Tape your areas
After carefully marking off your areas, it is time to tape. I recommend using blue painter’s tape. It will keep walls from being damaged while allowing them to be repainted later easily. Keep in mind that painter’s tape works great on drywall, but it doesn’t stick very well to glossy paint. Once I have finished putting down my initial strip of blue painter’s tape, I apply another layer of regular masking tape further to protect my freshly painted wall from damage. (In a future post, we will discuss how to avoid peeling paint when repainting.) Taping your walls and floors will give your painting service provider a smooth surface to work with, making their job easier and more efficient.
Step 3: Wait for the paint to dry
Propping a door open to allow moisture to escape can cause significant damage to your house. Paint, after all, is a delicate and tricky substance. Instead of propping your door open, could you wait for it to dry naturally? And if you don’t want to risk damaging your paint job, schedule an appointment with a painting service like buddy paint today!
Step 4: Remove your props
Once your paint has dried, remove your props and do a walk-through to check for missed spots. Touch up as needed, then enjoy! Your home will look fabulous in no time. Propping doors are also useful when painting trim or other baseboards, but be careful not to mar them with splatters or drips (don’t prop one door against another).
Step 5: Tape over your work area so that it doesn’t get dirty
Cover your door with a roll of painter’s tape to make sure your door doesn’t get dirty. The painter’s tape will keep any dirt or dust from getting onto your door while it’s taped to its frame. Cover all parts of your door, including around its edges. When using painter’s tape to prop an interior door, always use a soft-edge painter’s brush so that you don’t scratch or damage your woodwork as you push against it to move your prop back and forth. It also won’t leave behind any sticky residue like adhesive tape might. If there are hinges on your prop door (for swinging shut), use them when taping over them so that no paint gets into those crevices.
Step 6: Voila! Your room is painted and clean of any mess.
Our painting services at Columbus Painting are guaranteed to leave your room looking perfect. We even clean up after ourselves. If your room looks great and is free of all mess, you can stop reading here; thanks for checking out our services! However, if your room doesn’t look as good as we promised or is otherwise still a bit messy, keep reading. Maybe you left it messy on purpose – either way, let’s get through what needs to be done to ensure that your room looks amazing. Now that we have painted over whatever surfaces needed paint – whether it was trim around windows and doorways or walls themselves – our skilled painters will make sure that every nook and cranny has been fully covered with paint.
What is the fastest way to paint a interior door?
Before anyone begins a large home improvement project, it’s essential to think about where they will store their supplies. It’s much easier to clean up and put things away if there is an organized space for all of your paints, brushes, sandpaper, and more. If you don’t have an actual painting station set up yet, consider using our quick solution on how to prop a door open when working on it properly—it will make your life much easier! All that is needed is a couple pieces of wood that can easily be removed after painting (and put back in place). Once done with your first coat, remove one board at a time and lay them out flat before beginning your second coat.
How do professionals paint interior doors?
To properly paint your door, start by removing any hardware from your door. For example, a simple spring latch can easily be removed with a screwdriver. Next, secure your door using painter’s tape along both sides of your door and at each hinge to prevent it from moving during painting. If necessary, lay down some drop cloths or old sheets to catch paint drips and use painter’s tape to secure them in place. Finally, spray both sides of your door evenly with primer (two coats on bare wood) and then spray paint it with two coats of finish paint.
Final Words
Interior doors should be propped in various ways to ensure that they remain open and the paint is not damaged. If you’re propping an exterior door, make sure it can’t accidentally slam shut on your brush and splatter color onto a previously-painted surface. Either tie an old belt around the door handle or stand a ladder against it to keep it propped open if necessary.