Your room can be filled with mess. Your socks everywhere, or you don’t have a designated spot for your dirty clothes. Well having one can make such a huge impact. When it comes to your things ending up in the same place, it can make your life much easier.
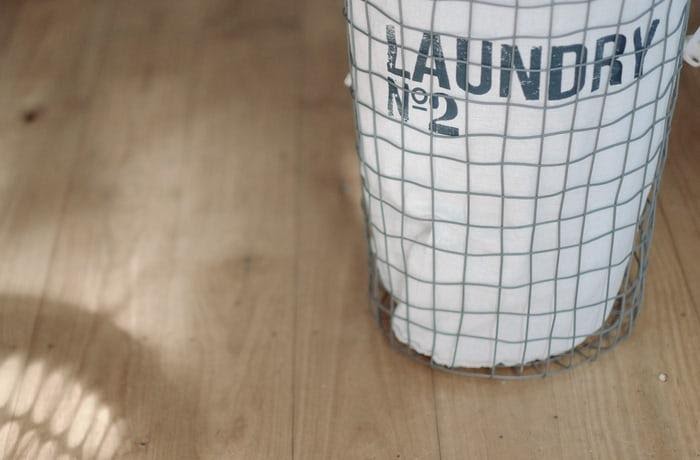
Instead of relying on plain, plastic containers, use this Fabric DIY Washing Basket to construct gorgeous and eye-catching laundry baskets for your house. This sewing project idea for how to make a fabric basket shows you how to build a DIY laundry basket that will go in with your home decor and personal style. This adorable craft is ideal for small areas and dorm dorms, and it would make a great gift for a college-bound student. This idea is both compact and adorable, and it will not disappoint.
What you will need,
- Cotton on the outside and inside (approx. 1- 1.5m each)
- 7oz wadding is the stiffest fusible interfacing available.
Follow Me!
- First, you must determine the size of your basket. Mine are around 30 x 30 x 40cm, minus a couple of centimeters due to seams.
- Cut a 30xm x 30 base square out of your two cottons and interfacing.
- Cut four 30cm x 40cm rectangles from each cotton and the interfacing.
- Fuse the interfacing to one of the cottons (inner or outer). I made the mistake of buying sew-in interfacing, which made things even more difficult because it introduced another layer that wanted to move around!
- By flipping them right side together and sewing your seam, sew the base of each rectangle to your base square in each cotton.
- You should now have two separate pieces – one lining and one cotton.
- After that, cut the wadding to fit. To reduce waste, divide it into three sections: one that ran the length of the two rectangles and the base square, and two more rectangle pieces. If you’ve been meaning to quilt it to your basket, now is the time. Simply used it as stuffing and then add it later.
- You’ll need to sew up the sides to keep them apart. Lift two rectangles and pin them together right sides together, then sew your side seam. Rep with the other three corners. I found that if I simply pin one edge at a time, I am less likely to be poked by pins. Rep on the other side of the fabric.
- You should now have two basket shapes to work with. Make sure your outer layer is facing outwards.
- If you haven’t already quilted your wadding, do it now. To keep the wadding in place, I used a few hand stitches along the joins and dipping into the side seams.
- If you haven’t already quilted your wadding, do it now. To keep the wadding in place, I used a few hand stitches along the joins and dipping into the side seams.
- Now shake and jiggle everything until all of your seams are aligned. All layers should be pinned in place. Use a quilt basting spray between your layers to keep the top half from shifting while you stitch.
- Sew all the way around the top of the basket. You can use an overlocking stitch or a top stitch at the edge to do this. If you want to maintain your layers moving through the sewing machine at the same speed, a walking foot or roller foot would be handy.
- Then made extra wide binding out of spare material, which you’ll cut to around 3 inches wide. Finished the edges with pinking shears. Fold the sides in half and pressed them under.
- The centerfold of the binding was aligned up with the basket’s edge and stitched in place. Normally, you should prefer to use my sewing machine’s binding foot, but the wadding was not quilted, making the material heavy and difficult to get through.
- When you start, never start on the corner. Approximately a 3-inch tail to hide the ends of the bias binding. Leave approximately 3 inches unstitched near the end and trimmed my binding with a few inches to spare. Pin the length you estimate remains after aligning the tails with their right sides facing.
- Check by straightening the basket’s edge and then adjusting to the exact amount needed. Sew a seam where your pin was in your binding tails, then trim away the excess. To make the bond sturdier, you can use pinking shears.
- Simply place your bias binding over the basket’s edge and stitch it down. And now, it’s finally ready to put to the test!
There are still a lot of ways to create a DIY laundry basket. You can always alter the measurements and layout of the basket. Try to innovate by adding more uses like handles and side pocket. Always remember to use a fabric that a have a good quality and long lasting durability. We wanted this DIY project to last as long as we want so choosing the right fabric for this project is vitally important. Don’t limit yourself on just a single laundry basket. Explore and maybe you can do more! Check out your fabric needs here!