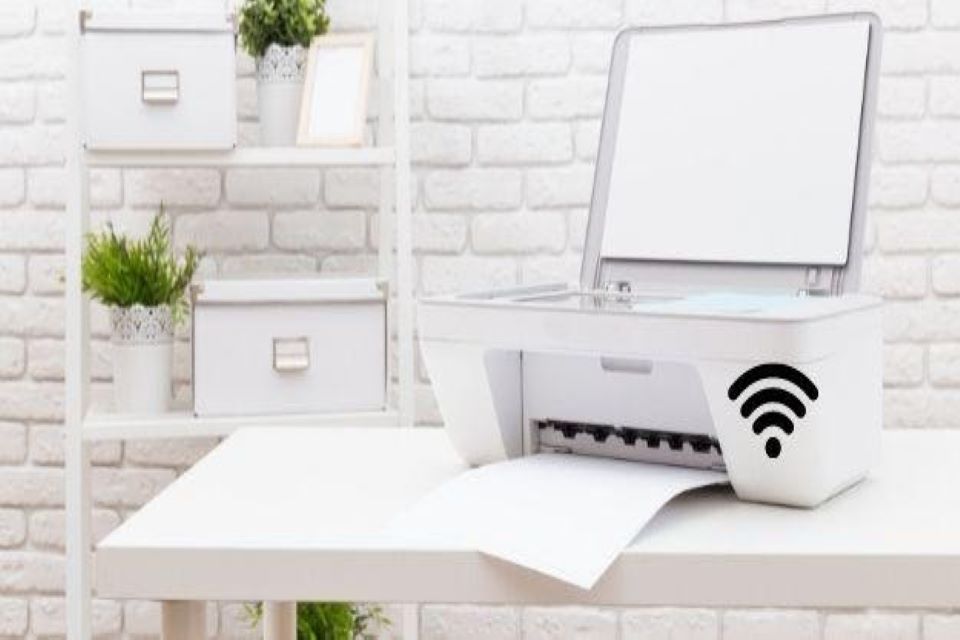
For connecting printer devices to the network; WPS provides a simple and reliable technique. Now you don’t need to connect the printer with a cable with every device. You can share the printer among devices by connecting it to the network. For the connection, the user will require a secure network.
Connection printer to the network with WPS
For the WPS connection, check the access point (your router) for the physical pin. The user can connect his printer only when the physical pin is available. Also, check your printer for the Wi-Fi setup. You can only connect when you are using a new printer model which offers Wi-Fi connectivity. Power on the printer and then configure it to the network.
Canon mg3600 how to connect to Wifi?
- Go to the printer and hit on the Wi-Fi button
- Check the lamp whether it is blinking or not
- When the lamp is blinking go to the router
- Press the WPS pin and wait
When the printer Wi-Fi finds the network; the lamp will become lit. After the connection, inspect the network. Load pages with proper alignment on the tray. Press the printer’s resume button until the lamp blinks 15 times. Release it and check for the printout. The status shows the connection; it must show active. Now go to the SSID and check the network’s name. If both of the details are correct then the printer is correctly get connected to the network. After connection, go to the PC and check for the driver.
Install the driver on your computer
After making a connection to the network; the user should check for the driver. For taking the printer; you need a PC and driver. The user has to connect his PC to the network. When both devices are using the same network; the PC will immediately find the printer. But for the connection; the user must install the driver. Check for the CD your get with the printer. Copy the setup and then install it or open the web and search for the driver. You will find it on the printer’s website. Once you install the driver, it will transfer the commands to your printer and you can get the printouts.
Connecting printer to network when WPS pin is not available
WPS pin is not available on all router devices. When the router doesn’t have the pin then the user can only use the standard method for connection. For this method, you have to use the driver. Use a PC that is connected to the network. Download the driver and run it on the system.
- The user will get the initial screen
- Click on the Next button
- You will get the connection method option
- Choose the Wireless LAN connection
- Hit the Next button
- You will get options for LAN connection
- Choose Access Point Connection
- Tap on the Next button
- For completing the connection; check the printer
- The printer’s power lamp and Wi-Fi lamp should be lit
- The PC will start finding the printer
- While making the connection, the network may get disabled for some time.
- Users will see the printer’s list
- Click on your printer’s name
- For the first time connection, your printer’s name won’t appear
- Select the not found option and press the Next button
- The setup guide for your printer driver will start installing
- Choose the Next button
- Hit on the Cableless option
- Hold the printer’s Wi-Fi button and wait till the lamp blinks twice
- Release the Wi-Fi button and then wait
- Press the Next button
- You will get the connection setting wizard
- After connection, click on the Next button
- Users will get the location window
- Choose the location and country
- Language wizard will get displayed
- Select the language and press the Next option
- Follow instructions and click on the OK button
- You will get the network connection page on the screen
- Check the printer’s and network name on the wizard
- When the details are correct then hit on Execute button
Choose the Next button and tap on Complete. When the printer is connected to your network; you can take the printouts. Open another device that is connected to the same network. Install the printer driver and then open a document. Try to take its printout. Check the available devices list and choose your printer. If the printer is working then you have configured the printer to the network successfully.


