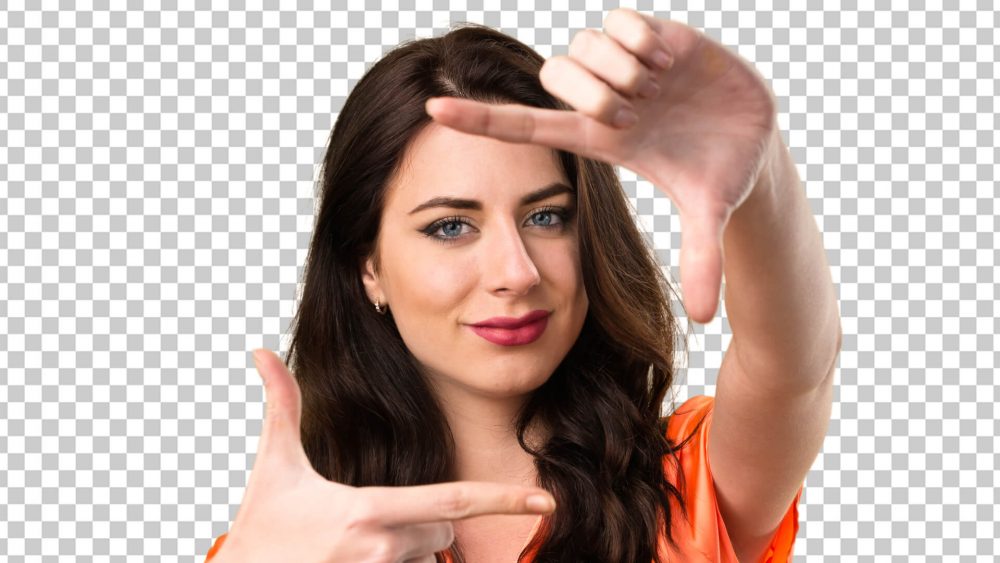
Are you tired of struggling to remove backgrounds from hair in your photos using Photoshop? Don’t worry; we’ve got you covered! In this simple and comprehensive guide, we’ll walk you through the process of effortlessly removing backgrounds from hair in Photoshop. Whether you’re a beginner or an experienced user, you’ll find this tutorial easy to follow and effective in achieving professional-looking results.
Step 1: Initiating the Process – Opening Your Image
Let’s kickstart this hair background removal journey by launching Adobe Photoshop and opening the image you intend to work on. To do this, navigate to “File” > “Open,” and select your desired image from your computer.
Step 2: Ensuring Safety – Duplicating the Layer
In the Layers panel, positioned on the right side of your screen, take a right-click on the background layer and opt for “Duplicate Layer.” This crucial step ensures that you are working on a copy of your image, thereby safeguarding the integrity of the original.
Step 3: Precision Tool Selection – Quick Selection Tool
On the toolbar located on the left side of your workspace, select the “Quick Selection Tool” (keyboard shortcut W).
Step 4: Initial Selection – Creating a Rough Outline
Click and drag the Quick Selection Tool over the subject’s hair. At this stage, perfection isn’t our goal; we’ll refine the selection further in subsequent steps.
Step 5: Honing the Selection – Refining Edges
To attain a more precise selection, navigate to the top menu and select “Select” > “Select and Mask.” This will lead you to the Select and Mask workspace, where you can use the “Refine Edge Brush Tool” to meticulously paint over the hair, ensuring all intricate details are included.
Step 6: Generating a New Layer
Post-refining your selection, proceed to click “Output To” located at the bottom of the Select and Mask workspace. Here, choose “New Layer with Layer Mask.” This action effectively creates a new layer, isolating your subject from the background.
Step 7: Introducing a Fresh Background
To replace the now-removed background, create an additional layer by clicking the “New Layer” button situated at the bottom of the Layers panel. Be sure to place this new layer beneath the layer containing your subject.
Step 8: Filling in the Blanks
With the new background layer selected, opt for a color or image of your preference for the new background. Utilize the Paint Bucket Tool (keyboard shortcut G) to fill the layer accordingly.
Step 9: Adjusting and Fine-Tuning
Now that your subject resides on its new background, you may find the need for further adjustments. Make use of the Layer Mask on the subject’s layer to refine any areas that require touch-ups.
Step 10: Safeguarding Your Progress
Once you’re content with the results, proceed to “File” > “Save As” to save your image as a Photoshop file (PSD). This will retain the layers and mask, allowing for future editing and modifications.
Congratulations, you’ve successfully navigated the intricate process of removing backgrounds from hair in Photoshop! Your efforts have bestowed upon your image a professional, polished appearance. Don’t be disheartened if it takes some practice to master; with time, you’ll undoubtedly become a proficient background removal artist.
In conclusion, the removal of backgrounds from hair in Photoshop should no longer seem like an intimidating task. Armed with these straightforward steps, you can achieve stunning results and elevate your photo editing prowess. Consider experimenting with various images to hone your skills further and consistently improve.
Now that you possess the knowledge of how to expertly remove backgrounds from hair in Photoshop, you have a valuable skill at your disposal. This skill can be used to enhance your photos, create captivating portraits, and make your images truly stand out. So, take the plunge and give it a shot—you’ll be amazed at the artistic possibilities that open up with a touch of creativity and some Photoshop expertise!