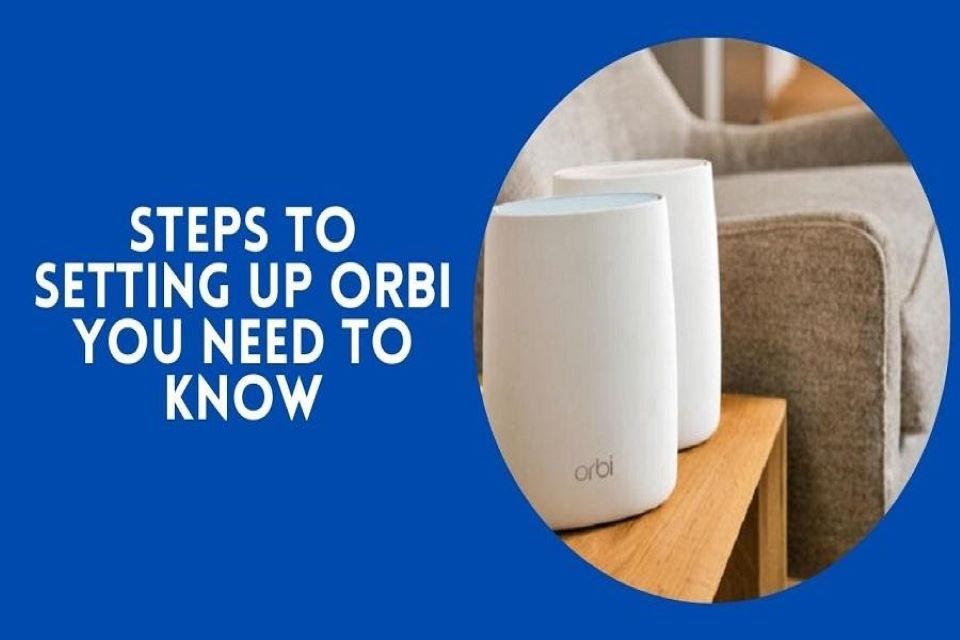
The Netgear Orbi router is the best router when you are searching for a high-speed internet connection. The Orbi is provided with facilities such as the facility of sharing as well as downloading.
You need to follow the process of Steps to Setting Up Orbi if you have to use Orbi. The Orbi will come with a Wi-Fi router and a satellite. This equipment is going to provide you with a speed that will be unmatched with its Wi-Fi coverage.
The Wi-Fi network is going to cover an area that is going to be more than any other router. You can also use tri-band Wi-Fi that will maximize the speed of the internet. This way you will be able to enjoy the internet everywhere.
This router is basically a mesh router as it is working on a tri-band technology. This router is great for places that are huge in size and could have various obstacles for the range of the normal router.
Normally these routers are used for huge residential places or big offices with various floors. If the users are looking for extremely powerful and capable Orbi routers, then what they can do is use the Orbi satellite that is going to provide wider coverage.
Here are the Steps To Setting Up Orbi will be successfully done in no time.
- Well, you need to unplug your modem and then remove and replace the battery if there is any battery in the device.
- After that put the modem back in. After that, you need to connect your modem to the yellow internet port that is on your Orbi router. You have to do it with the ethernet cable that is included in the box only.
- After a while, you need to connect your Orbi with a power source. Make sure that if the power LED on the back of the router does not light, then you need to press the power On/ Off button. Make sure that the light is always on.
- After a while, you need to wait for the Orbi router’s ring light will turn to a solid white, and then it will change to pulse white.
- The placement of the Orbi satellite is very essential as it must be in the center of your house. This is because the center placement is going to get the best coverage in all the rooms.
- After these steps, you need to connect your Orbi satellite to the power source. When the power LED on the back of the router does not light, then it is mandatory that you need to press the On/Off button.
- You would have to wait for the Orbi satellite ring to turn the LED to solid white, then it will change to pulse white and pulse magenta. In order for getting the satellite synced with the Orbi router, the pulse magenta light will be there for up to a minute.
- When the Orbit’s satellite ring will be pulse magenta light, it is going to light one of the colors mentioned below for at least 10 seconds and then will turn off.
- If the light turns solid blue, then the connection made between the Orbi Router and as well as the satellite will be good.
- If the light is turning to Solid magenta, then it means that the Orbi satellite is not able to connect with the Orbi router. In that case, you need to move your Orbi satellite close to the Orbi router.
- When the light is turning to the Solid Amber, then it signifies that the connection between the Orbi Satellite and the Orbi router is very fair. For avoiding any bad scenario, make sure that you are moving your satellite to closer to the Orbi router.
After you are sure of the light, you need to connect your PC or your Mobile phone to the Orbi router or the satellite with a fast Wi-Fi or ethernet connection. Then, you need to download the Orbi app or visit the official Orbi website in order to set up your Orbi Wi-Fi network. The Orbi router’s ring LED is going to turn off after the Orbi setup is complete.
There are some of the steps that you need to follow in order to set up your Orbi device. If you are not able to set up the Orbi, then you need to get in touch with our experts. They are the professionals at Orbi Helpline Who are going to help you to resolve the issue.


