Introduction
Over the period, the number of email clients has increased to such an extent that it becomes difficult to choose one. Usually, MS Outlook is one of the best go-to email clients to communicate and exchange information professionally. However, with the introduction of the Exchange Online, users get the advanced features of the Exchange Server without actually having an account on the platform. Exchange Online can be accessed on Office 365 which is a part of the Microsoft Office pack.
However, since you cannot operate via two accounts, you will have to import the information from one to another. In most cases, you will be required to import the data from MS Outlook to Office 365. MS Outlook stores the data in the form of emails, contacts, attachments, calendars and journals in OST file format. Let us discuss how to import OST to Office 365 so that you can access your data from that account.
Need to import data to Office 365
There are several reasons to transfer OST data to Office 365. Here is why users undertake this exercise:
- Change in the organization.
- Frequent crashes in MS Outlook.
- Large storage facility in Office 365.
- Less downtime on Office 365.
- Better security features on Office 365.
- Better accessibility with Office 365.
Methods to import OST files to Office 365
Here is how you can undertake OST to Office 365 migration. Let us discuss these methods one by one.
Convert OST Files to PST format and Migrating PST to Office 365
There are two steps in this method. Let us discuss them in detail
Step 1: Convert OST files to PST format.
There are many methods to convert the OST files to PST file format.
Method 1: Create a new PST and copy OST Items
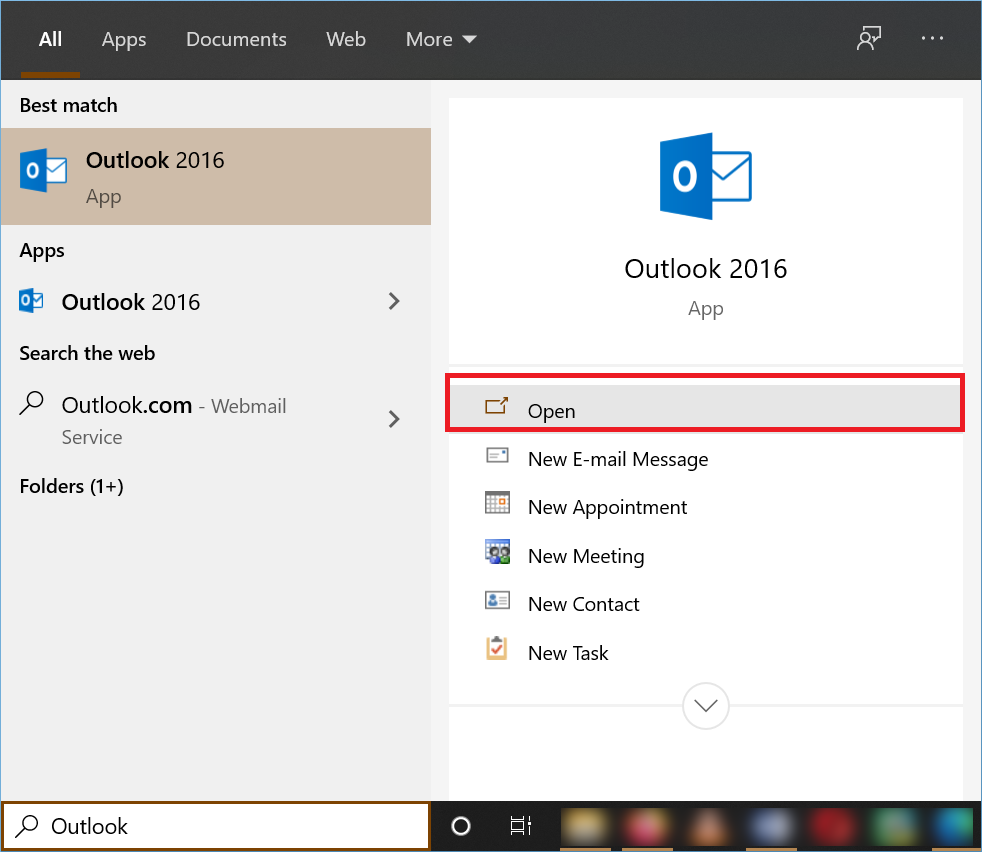
- Launch MS Outlook. Go to File and click on Open.
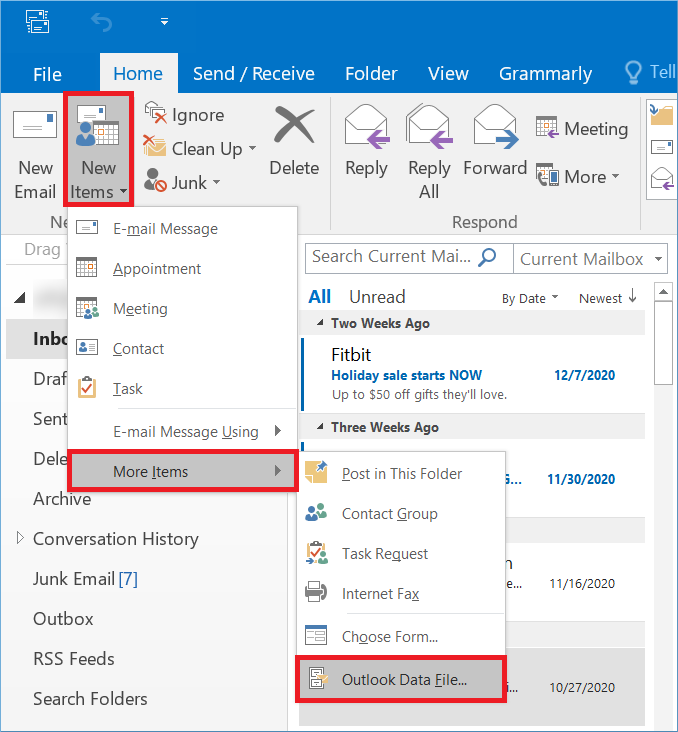
- Click on New Items and then go to More Items. Choose the Outlook Data File.
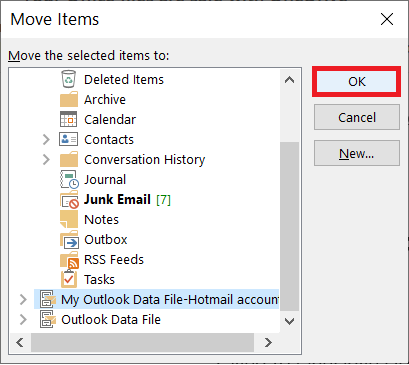
- After creating a new PST file, you can move data to a new data folder. Choose the emails, right-click on them, and then click on Move. Select ‘Other Folder’.
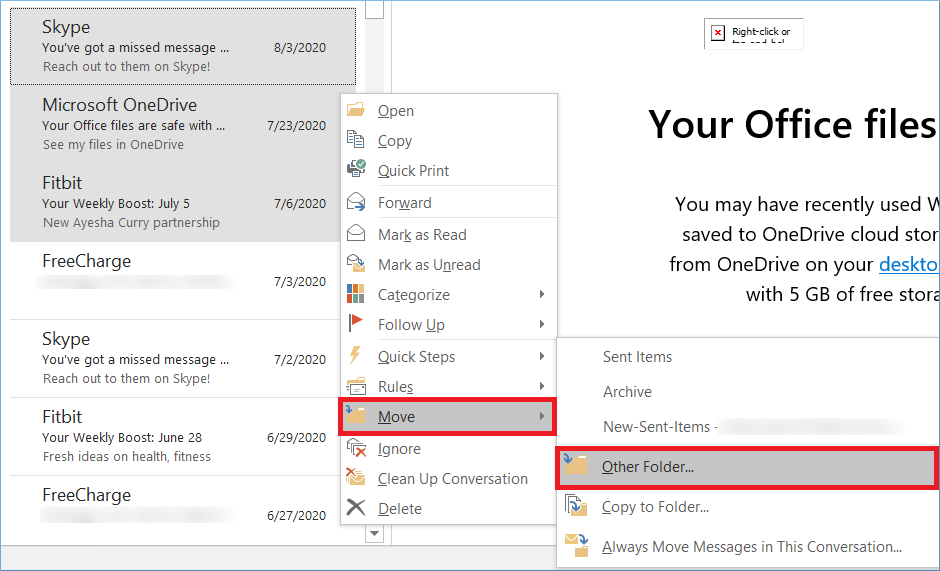
- Choose the new data file and click the OK button.
Method 2: Use the Archive Feature
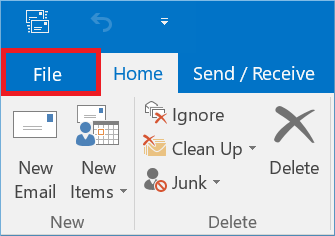
- Launch MS Outlook. Click on File.
- In the Cleanup Tools section, click on Archive.
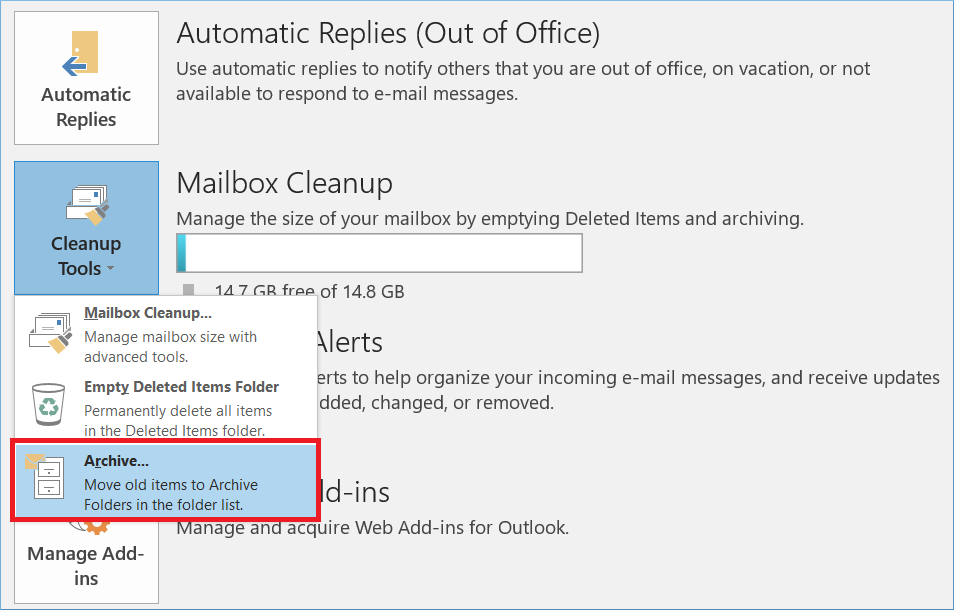
- Archive your mailbox content at a suitable location. Then click OK.
Method 3: Use the Export feature of MS Outlook
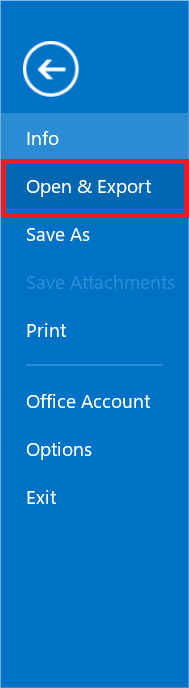
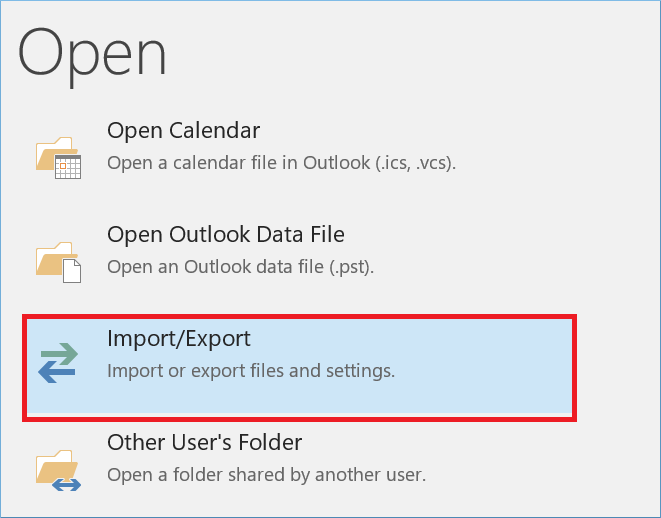
- Launch MS Outlook. Click on File, and choose the Open & Export option.
- Click Import/Export.
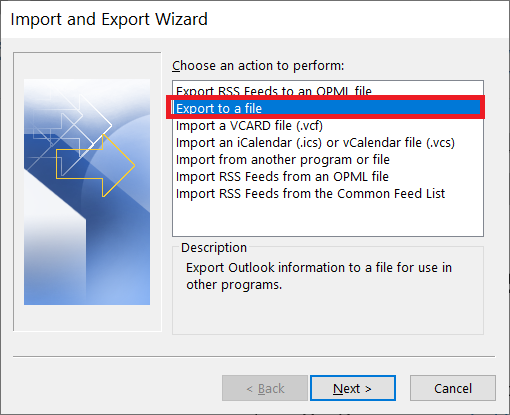
- Click Export to a file and then click on Next.
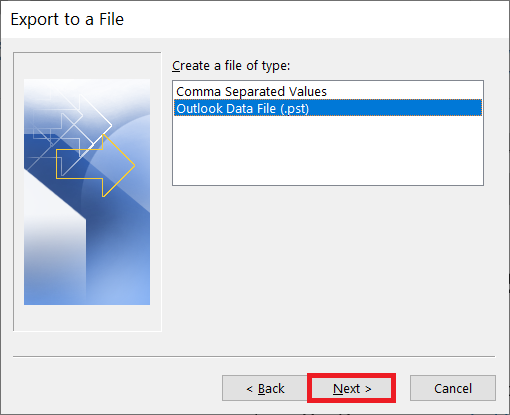
- Choose Outlook Data File (.pst) and click Next.
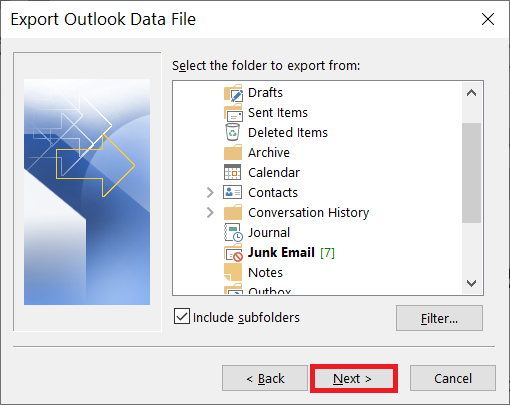
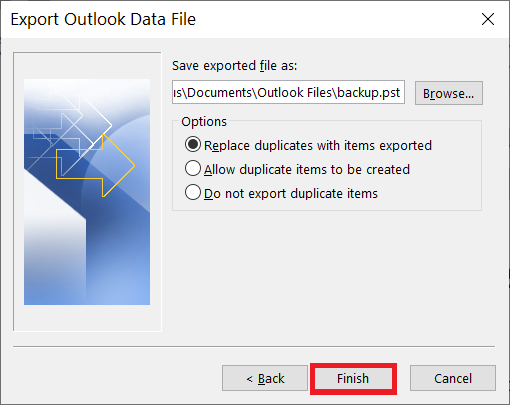
- Choose all the folders that you want to put in the PST file. Click on the Next option.
- Specify the location of the new PST file and then duplicate them. Click on the Finish button.
Method 4: Regain OST to PST Converter Tool
If any of these methods are not working for you, then you can rely on the Regain OST to PST Converter tool. This tool is very helpful for directly converting the OST files to PST file format without the risk of data loss. The software is easy to access and secure.
Step 2: Migrate the PST file to Office 365
As a next step, you need to migrate OST to Office 365 using AzCopy as you have already converted to PST format. Here are the steps that you need to follow for this:
- Assign the admin roles.
- Creating the import job.
- Upload your PST files to the Azure Storage.
- Verifying the MS Outlook PST files.
- Map the PST files.
- Begin the process of importing the PST files.
Limitations of the manual method
The method to transfer OST to Office 365 that has been just explained is not feasible. It is very complicated and may not give assured results at the end. So what must one do? Here is another easy method for you.
Regain OST to Office 365 Migration tool: The easiest way to import your files
To import OST to Office 365, you can rely on the Regain OST to Office 365 Migration tool. It is the best tool for beginners. It helps to transfer all your OST data to Office 365 in a hassle-free manner without distorting the structure and the hierarchy of the folders. It reduces the risk of data loss during the process of transfer. Here is a list of amazing features that this tool is known for offering.
Features
- Displays a preview of the OST file before migrating.
- Maintains the integrity of data.
- Import multiple OST files to Office 365.
- Migrates the calendars and contacts as well.
- You can pause and resume the transfer at any time.
- It comes with an advanced feature for date range.
- Effectively recovers corrupted and damaged OST files as well.
This is the best tool for migrating OST to Office 365.
Conclusion
We have exhaustively covered the ways to import OST to Office 365. These ways are very beneficial for the users who are willing to switch. While some methods are detailed, others are very direct. So you have the choice of going ahead with easy tools like Regain. There is no better tool than this.